
Here’s exactly how TeliportMe turns a 360° panorama into a finished, embeddable virtual tour, based on the platform’s own workflow.
How TeliportMe Works: Step by Step
Step 1: Capture Your Panoramas
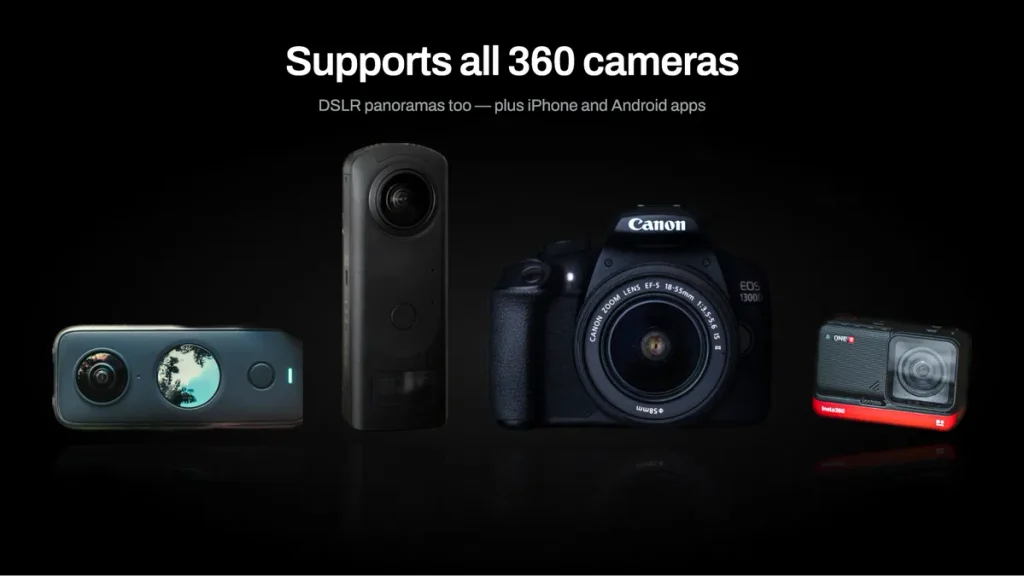
You can shoot panoramas with a dedicated 360 camera, a DSLR with a panorama head, or the TeliportMe mobile app on iOS/Android — the platform isn’t locked to one type of hardware. For a property tour, this typically means one panorama per room or key area.
Step 2: Upload and Let TeliportMe Process Them
Upload your panoramas (up to 16K resolution, 30MB per file on the AppSumo tiers) into a workspace. TeliportMe processes each one into a navigable 360° view.
Step 3: Add Hotspots to Connect Scenes
Place hotspots inside each panorama that link to the next scene — this is what lets a viewer click from the living room panorama into the kitchen panorama, building an actual walkable tour rather than a set of disconnected 360° photos.
Step 4: Layer in Text, Video, and Sound
Add text callouts, embedded video, and ambient background sound at specific points in each panorama — useful for pointing out a feature, playing a welcome message, or setting atmosphere for a hospitality tour.
Step 5: Build the Floorplan (Optional)
For multi-room properties, map your panoramas onto an interactive floorplan so viewers can navigate by clicking a room on a plan view instead of only hotspot-to-hotspot — a meaningfully easier way to orient a viewer on a larger property.
Step 6: Apply Branding
Set a color skin matching your brand, add password protection if the tour is private, and (on tiers that include it) apply a custom domain so the tour looks fully white-labeled rather than TeliportMe-branded.
Step 7: Publish and Share
Embed the finished tour on your own website, share it as a direct link, plug it into an MLS-compatible real-estate listing, or publish it to Google Street View for local-search visibility. Analytics then track visitor engagement on the published tour.
What You Need Before You Start
- A way to capture 360° panoramas — a 360 camera is ideal, but a smartphone via the TeliportMe app or a DSLR panorama rig both work.
- An estimate of how many tours and how much storage you’ll actually need, since the AppSumo tiers are storage- and tour-capped, not unlimited.
- Your brand assets (logo, colors) if you want a branded, non-default look.
- A place to publish to — your own website’s embed code, an MLS integration, or a Google account for Street View publishing.
How Long Does Setup Actually Take?
Processing a single panorama into a navigable view is fast — usually minutes. Where real time goes is in building out a multi-room tour properly: placing hotspots accurately, mapping a floorplan, and adding branding/sound touches that make the tour feel finished rather than a raw stitch of photos. For a modest property (5-10 rooms), budget an hour or two for a first tour done carefully; subsequent tours go faster once you’re familiar with the editor.
Common Mistakes to Avoid
- Not planning storage usage upfront. Since deleted files don’t appear to free up space on TeliportMe’s storage model, decide your tier based on realistic ongoing volume, not just your first tour.
- Skipping the floorplan on larger properties. Hotspot-only navigation gets confusing past a handful of rooms — the floorplan view meaningfully improves the viewer experience on bigger spaces.
- Shooting panoramas with inconsistent lighting or exposure. Mismatched panoramas make a tour feel disjointed room to room — keep capture conditions as consistent as you can.
- Forgetting to test the published tour on mobile. Most viewers will open a tour link on a phone, not a desktop — always check the final experience there before sharing widely.
This article contains an affiliate link. If you sign up through it, ToolInsight Pro may earn a commission at no extra cost to you. See our Affiliate Disclosure for details.


Pingback: TeliportMe Alternatives: 4 Options Compared (2026)